
Table of Contents
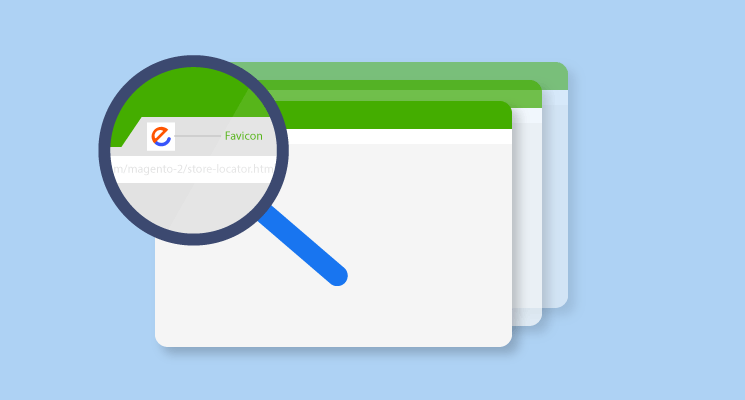
A logo is the first visual representation of a brand, In our years of eCommerce work, we have never seen a website without a logo or a favicon. After installing extensions store on your online website, one of the first important things that you need to do is change your business logo on the website.
Magento 2 allows admin to change the logo in the header, transactional emails, and invoice. However, the sizes of the logo for each of them varies; hence, the admin needs to care about this.
Here is a full guideline to change the website logo in the header in Magento 2.2.x.
Step 1: Navigate to Content > Configuration
Firstly, you need to open Magento admin panel. In the Admin menu, Choose “Content” and find Configuration and go to Design Configuration.
Step 2: Design Configuration > Select Your Current Theme
The Design Configuration appears like below, it is very an easy tool to edit design-related rules and configuration settings by displaying the settings on a single page.
Then, you need to find the store view that you want to configure. In the Action column, click Edit.
Step 3: Change Default Theme
To change the Default Theme, set Applied Theme to the theme that you want to apply to the view. There are 2 themes in Magento 2: Magento Black and Magento Luma.
If you do not choose a specific theme, the system default theme will be applied. Some third-party extensions allow admin to modify the system default theme.
Step 4: Click to the Header tab
Under Other Settings, expand the Header section.
Configure the following settings:
Logo Image: Click the “Upload” button to upload a new logo. Images in the type formats such as PNG, GIF, JPG, or JPEG are allowed.
Logo Image Width/ Logo Image Height (Optional): Enter the image width and height for the logo or leave it by default
Welcome Text (Optional): Input a meaningful welcome message for your page which are appeared in the header of the store.
Logo Image Alt: Input the image alt text here for SEO.
Step 5: Save everything
When completing the steps above, save the changes by clicking either Save and Continue or Save Configuration to complete the process.
Step 6: See the result
Refresh your website to see the new logo in place.
This is the end of the tutorial on the way to change the logo in Magento 2. Uploading your own logo will make your store more professional and reliable in the customers’ minds. Moreover, a specific logo can easily gain the customers’ belief and loyalty. If you follow all the steps above, we believe that you can receive your desired result.

Joel Pham
Joel Pham is the CEO of Magenest, with extensive experience in eCommerce, business operations, and digital transformation. He has led projects for major brands across Magento, Shopify, Odoo, and enterprise technology solutions.
Weekly Trending
-

Confirmation code: 5 things you need to know about it
March 30 2021 -

eCommerce Product Images: Which is the best size?
September 25 2020 -

Access Control Lists (ACL) in Magento 2
April 29 2020 -

Everything you need to know about Guest Blogging in 2024
December 2 2023

Recent Posts
-

Payment Gateway Comparison - Top 5 Providers in 2026
April 1 2026 -

Magento 2 Stripe Extension: Installation & Configuration
December 29 2025 -
5 Best-selling Magento 2 Extensions to check out before 2026
December 19 2025 -

8 Best Magento Subscription Extensions For Online Businesses
December 8 2025 -

How to set up payment methods in Stripe Payment Gateway
September 21 2025


Thanks.